The spellr mascot
Founder, Designer
Over the summer, I worked on creating the mascot for my EdTech startup, spellr. I learned how to design and animate on Rive from scratch.
Team 1 Designer + Animator 3 Engineers
Duration 12 weeks (Jun - Sep 2024)
As an early-English learning platform, spellr needs a mascot that provides excitement and stimulus to keep a student going. This summer, I took on the creative liberty in designing and animating our mascot.
To begin the creation of the mascot, I first looked into what the current learning apps out in the market have as their mascot. Duolingo has their signature owl, while other platforms such as Babbel and Khan Academy use their name. I wanted spellr to have a mascot that students could recognize and interact with because I believe that a mascot can hold as much power as a teacher.
Looking at our name, spellr, we have the word “spell” in it. I decided to have a play at the meaning of the word and think about spells in wizardry. We want students to create words like magic and master English like a wizard. A hat, a cape, and mystery were what we needed to create the mascot.
Project Context
Why do you need a mascot?
Designing the mascot
Wizardry
Using Duolingo as inspiration, I looked into their “Character Brand Guidelines”. I learned about the importance of repetition in body structure and how rounded corners evoke a more playful style. I also used simplicity in designing the mascot by not introducing many shapes. This helps our engineers implement smaller files in the future and avoid overly complicated image structures.
#1E96FC
#011638
#FDE74C
#E7AD99
#820263
#F14141
#A00B0B
The colors that our mascot embodies adds onto the super-human quality of a wizard. I used an online color generator to pick colors that were either complementary or analogous to the rest of the fixed color palette. The blue-toned colors bring uniqueness to our character and brings fun to learning.
Designing the mascot
Character composition
There are three main elements which I used to bring the mascot to life.
1
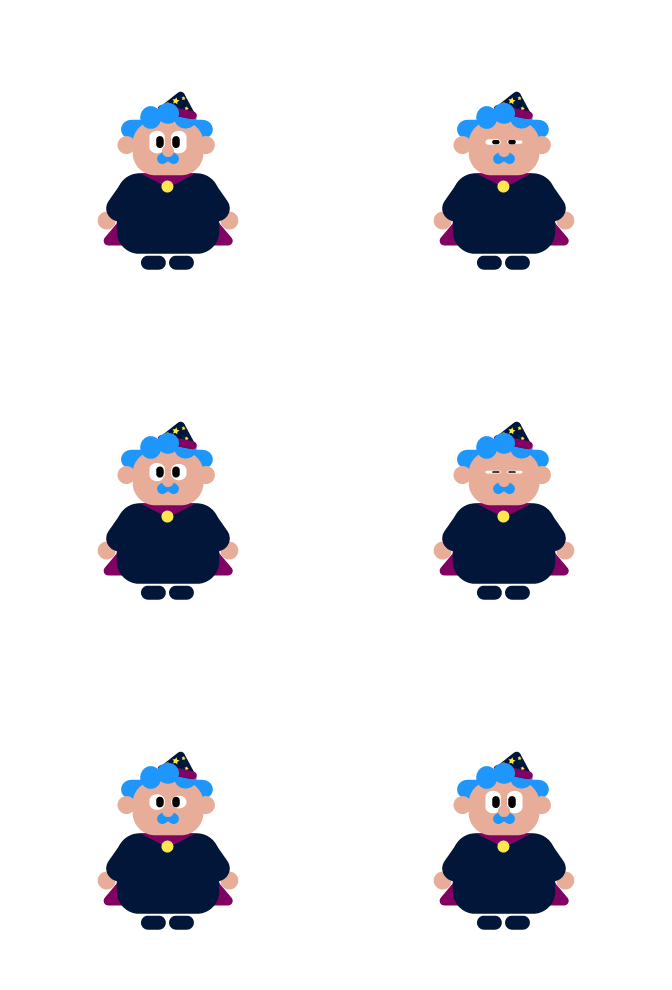
Mouth movement
The opening and closing of the mouth not only allows the mascot to speak, but show emotions. The tongue makes the mascot more human-like and cute.
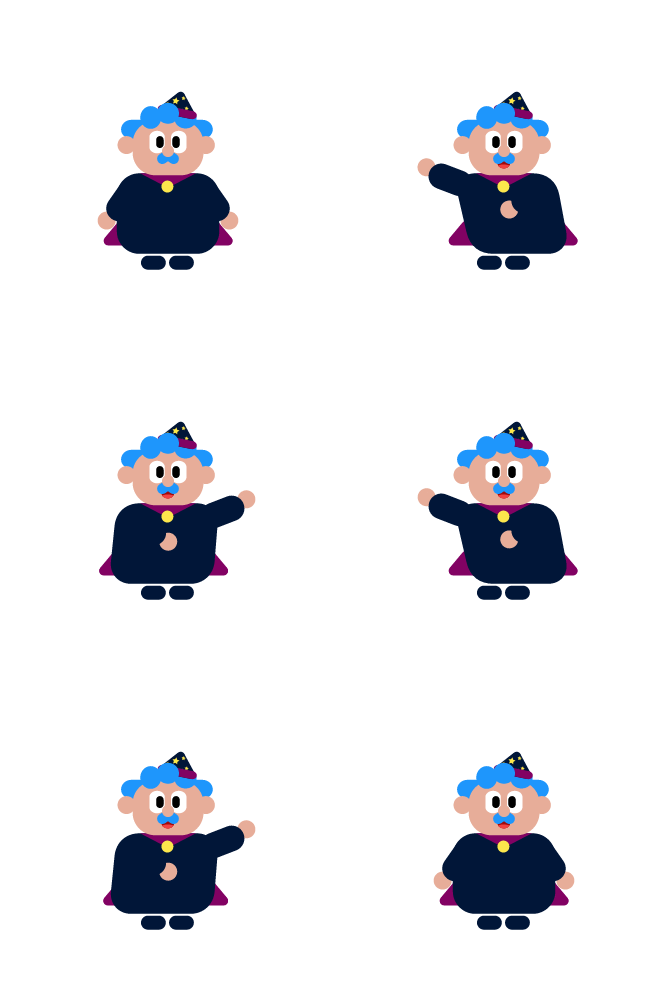
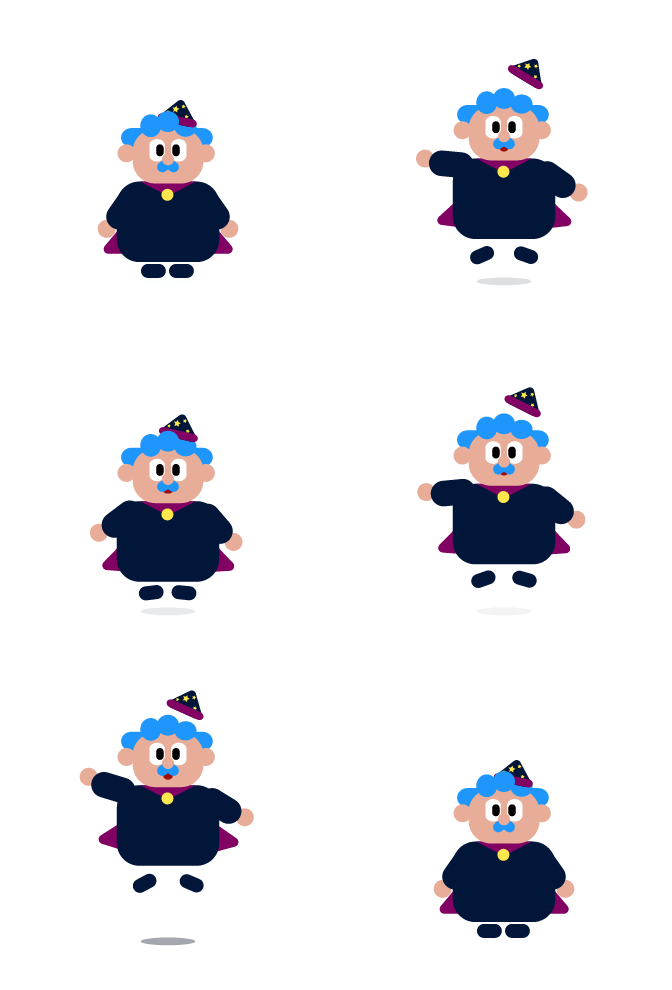
Actions such as jumping, running, walking bring motion to the mascot. This spatial decoration can bring more character than subtle facial expressions.
The curvature of the body levels our mascot’s quirkiness and spice. This element is very useful for in-place animations.
The biggest challenge I faced while building the timelines was understanding what elements within the hierarchy needed their positions to be keyed at specific times. Without keying certain elements, the mascot’s face would no move in unison, its body would shift to all sides, and the position of the character would not be static. Learning what specifically needed to be keyed also allowed me to not key everything out of simplicity and ignorance. This made my timelines much cleaner and easier to layer animations on top of one another.
Animating the mascot
Individual reaction timelines
2
Body movement
3
Body curvature
At first it was difficult to navigate the UI of the state machine page, but there were a few Youtube videos that completely changed the game. I first watched this video to learn about the basics of what a state machine is. I then watched this video to learn about randomization states, which is particularly useful since I have a lot of reactions for the same state (ex. someone answers correctly). With this knowledge, I began to build my state machine.
Before using triggers for sigh, armDance, threeJump, and jump, I had a boolean of isCorrect, which would trigger on when an answer was correct. However, I realized that if I wanted to have the character go back into idle mode (blinking), then the existing boolean value of true would run the animation again, which could potentially lead to an infinite loop. Therefore, I chose to use a trigger for each individual timeline. This separates the reactions from the idle state, and also allows the client to choose the probability values that a specific reaction runs.
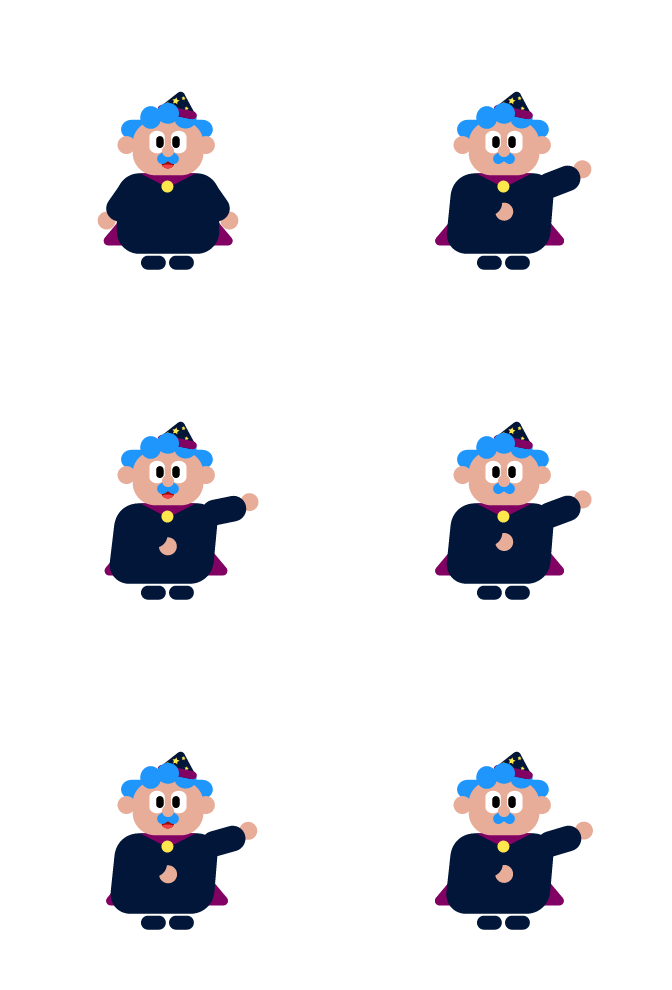
The next challenge I faced while creating the state machine was learning how to layer animations. Knowing that our mascot will either speak or not speak at certain times, we need to ensure that the mascot can still be speaking while sighing, jumping, or moving around in general. To achieve this, I created a separate layer for the boolean of isTalking. In order to have the position of the mouth move with the face, in the talking timeline, I did not key the mouth coordinates but chose to key the opacity of the mouth. The alternation between 0% and 100% is what ultimately makes the character look like they are speaking.
talking + armDance layered through state machine
Animating the mascot
State machine
Et voilà! There you have it: how to master Rive from scratch. This was definitely a challenging project because I had to hone my taste and design a visually aesthetic icon. However, this is only the beginning! Over the next few months, I aim to create more animations for getting answers wrong (ex. so close!) and bringing more movement to the wizard! I want to learn how to animate our mascot running. But for now, this is the end to this project, and I hope to see you next time.
Reflection


